
Digital Photographer
Issue 277
NATALIA ZMYSLOWSKA
Natalia often travels around the world to capture its diversity. This month, she visits the Scottish Owl Centre to show you how to make the most of the wildlife in your area. Find her step-by-step shooting tutorial on p56, focusing on the essential settings for captivating shots.
Capture nearby wildlife
Practise the core skills for a genre where a split second makes the difference.
Wildlife photography is arguably one of the medium’s most challenging genres. However, if you are thinking of practising your wildlife shooting skills, you needn’t necessarily travel to far-off places. Wildlife can be found in urban areas, even on the streets of our biggest cities, where foxes and deer often appear at night.
Wildlife parks or nature reserves also provide opportunities to capture animals closer to your home. In these better controlled environments, you can observe a range of species and learn their behaviour, characteristics and movements. Pay attention to their feeding times, activity patterns and preferred environments within the area.
If you decide to shoot in your local forest, take advantage of the many helpful resources available online, such as the RSPB website, forums and apps, which provide detailed information on identifying different species, their habitats and migration patterns.
Timing is of the utmost importance in wildlife photography, so have your camera set up and ready to go before you set off. Take the time to familiarise yourself with your camera and check the menu for any special features that may help you shoot your best images.
For this shoot, we visited the Scottish Owl Centre in Polkemmet Country Park, near Bathgate. The centre is home to over 140 owls from 50 species and offers indoor photo shoot sessions and workshops with expert tuition from pro Dean Bricknell. In this tutorial, we’ll explain the steps you need to conquer limited lighting, make fences disappear and more.
BEFORE
Hidden details The image has distracting elements blocking the owl, while the exposure and focus settings aren’t perfect either

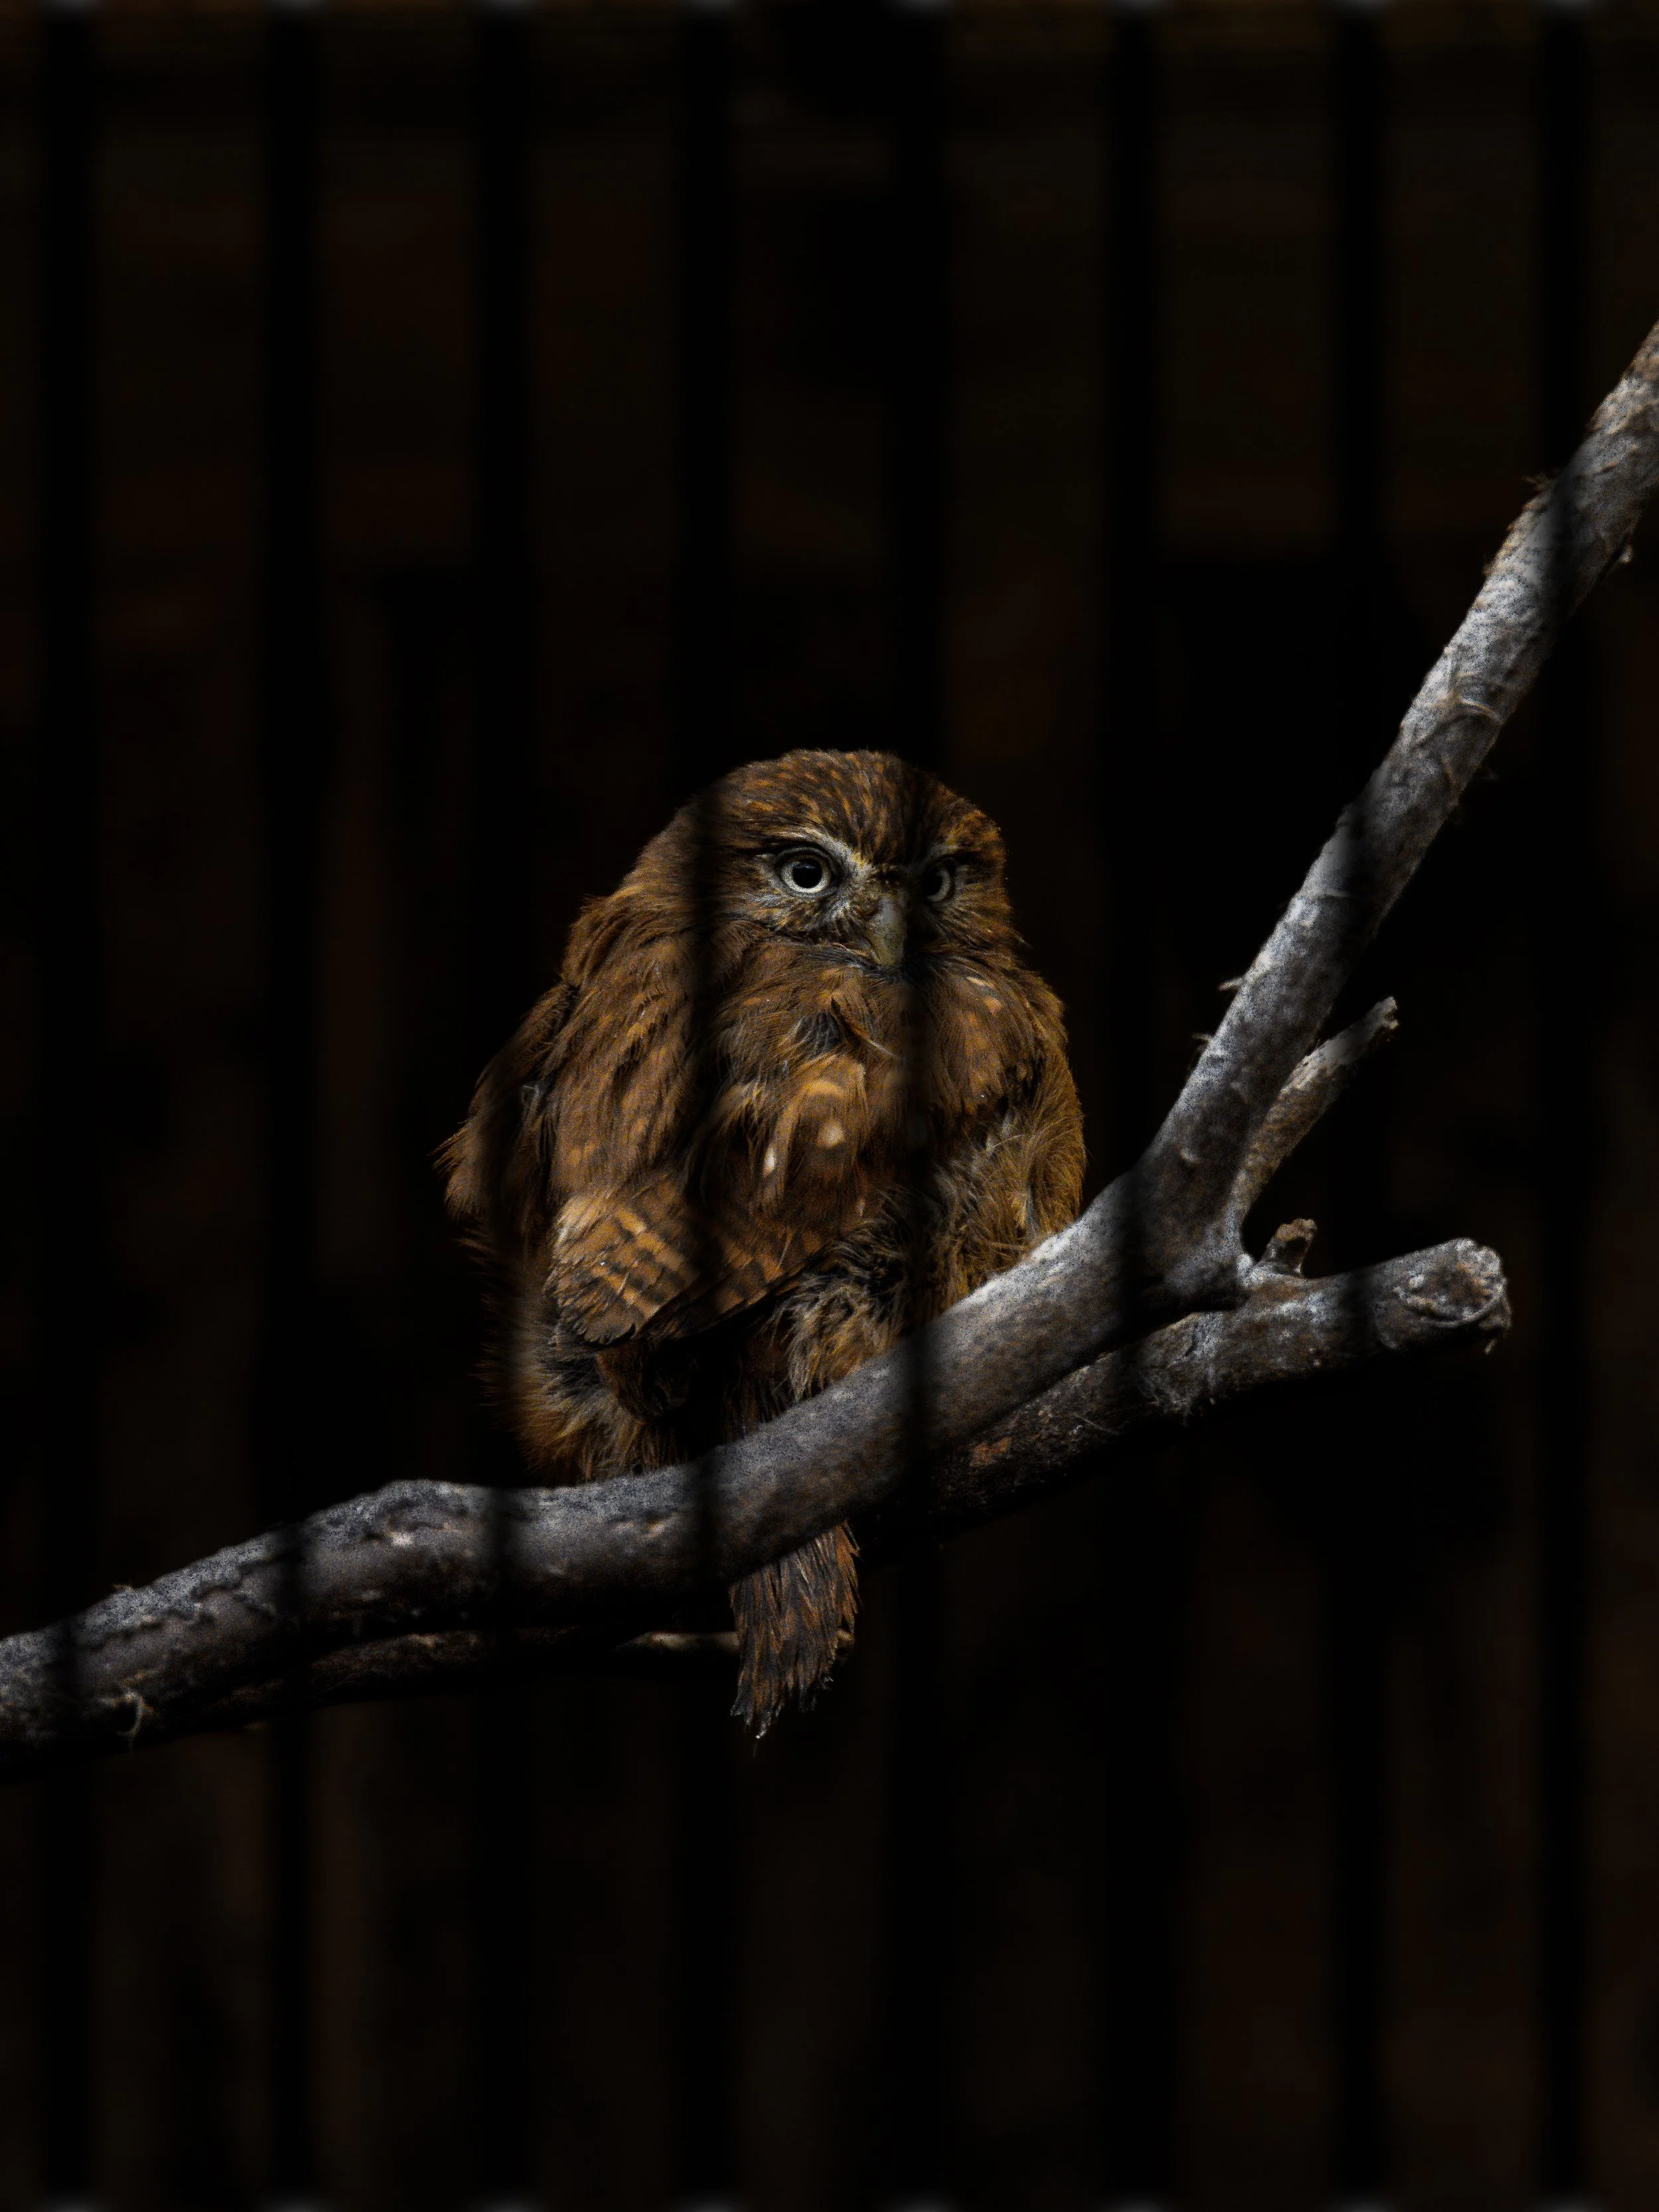
AFTER
Easy prey By shooting through the fence, using appropriate camera settings, the owl is showcased in full detail, with all its colour and texture
1. Do your research
Check that the park or facility you are visiting follows an ethical approach to conservation and identify the species you’re interested in photographing. For action shots, consider visiting during feeding times or scheduled enrichment activities.
2. Shoot in M
To capture the best images, shoot in manual mode. Choosing an open aperture when shooting through a fence will eliminate the bars and let more light reach the sensor. Bear in mind that an open aperture, such as f/4, will reduce the area of sharpness.
3. Ensure sharp results
Shutter speed settings vary depending on the subject – the faster the animal, the faster the speed. Start with 1/250sec for moderately fast-moving subjects and to nail the focus, deactivate AF and activate the eye detection.
4. Embrace higher ISO
If you are shooting in low light with a fast shutter speed, increase the ISO setting to maintain a proper exposure. Modern cameras perform well with higher settings but use the Denoise feature in Lightroom to eliminate image noise, if needed.
5. Shoot in burst mode
When shooting animals in motion, activate burst or continuous shooting mode in your camera menu. This way, the camera captures multiple frames when holding down the shutter for a little longer than you would usually do.
6. Analyse frame
When waiting for the subject to appear, use any spare time to look at your photos and analyse them in detail. It’s a great opportunity to discover patterns, leading lines and angles that could enhance your composition for the next set of frames.